Smashed Brussels Sprouts with Parmesan (Crispy & Easy!)
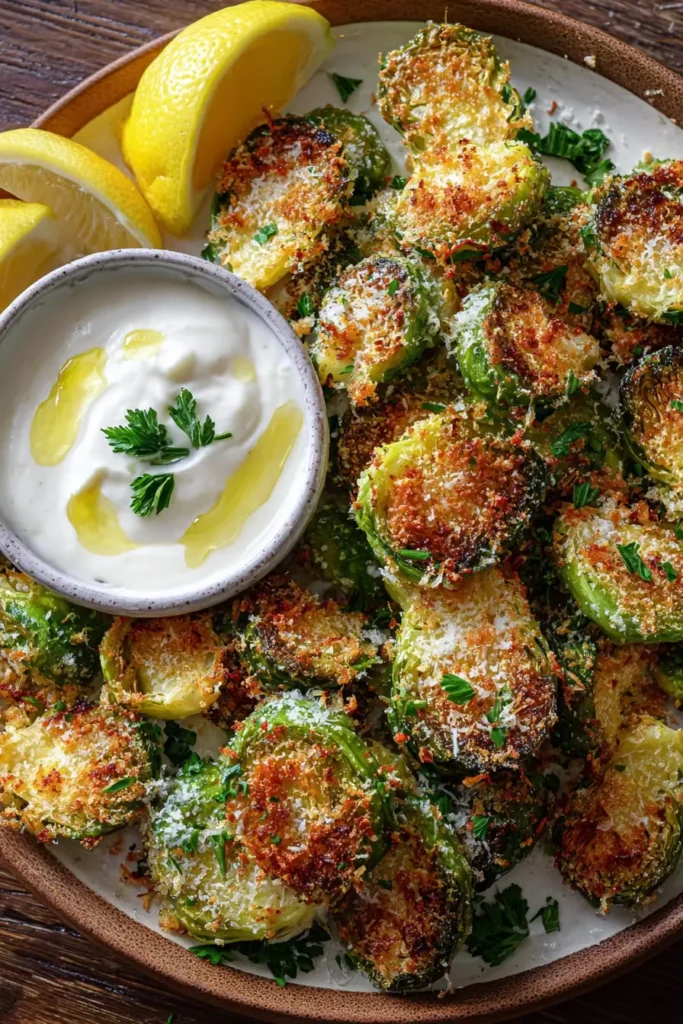
Did you grow up absolutely hating Brussels sprouts? You are definitely not alone. For decades, well-meaning home cooks boiled these poor little green veggies into sulfurous, mushy oblivion. It was a culinary tragedy. But everything changed when we discovered roasting, and today, we are taking it to a whole new level. If you think you despise this vegetable, I challenge you to try these ultra-crispy smashed brussels sprouts with parmesan.
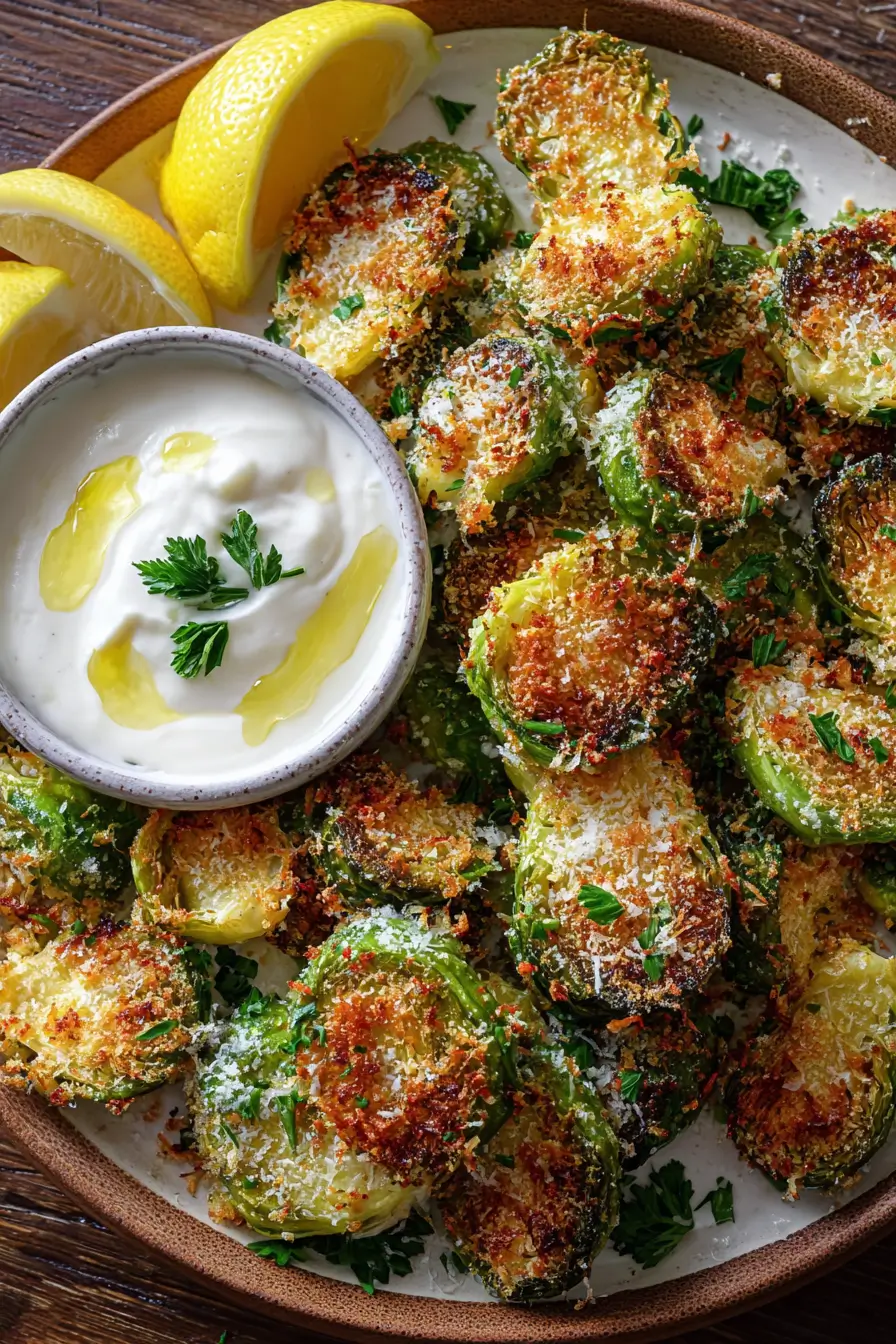
The first time I served these to my family, my kids swiped them off the baking sheet before they even reached the dinner table. They have this shatteringly crisp, lacey cheese skirt that mimics the texture of a high-end potato chip, but with a deeply savory flavor profile. When you dunk them into a bright, whipped lemon ricotta dip, it is absolute magic. Trust me, this single side dish will completely revolutionize how you view weeknight greens.
Why This Recipe Works
- Maximum Surface Area Means Ultimate Crunch: By crushing the par-boiled sprouts flat, you increase the surface area touching the scorching hot pan. This creates dozens of craggy edges that crisp up beautifully in the oven.
- The Lacey Parmesan Skirt: Finely grated cheese melts down around the base of each sprout, forming an irresistible, golden-brown crust. It acts like a savory anchor that delivers a crunch you can hear across the room.
- The Perfect Acid Balance: Brussels sprouts can sometimes carry a heavy, earthier note. The lemon ricotta dip cuts right through that richness with its bright, citrusy punch and smooth, velvet texture.
Ingredients
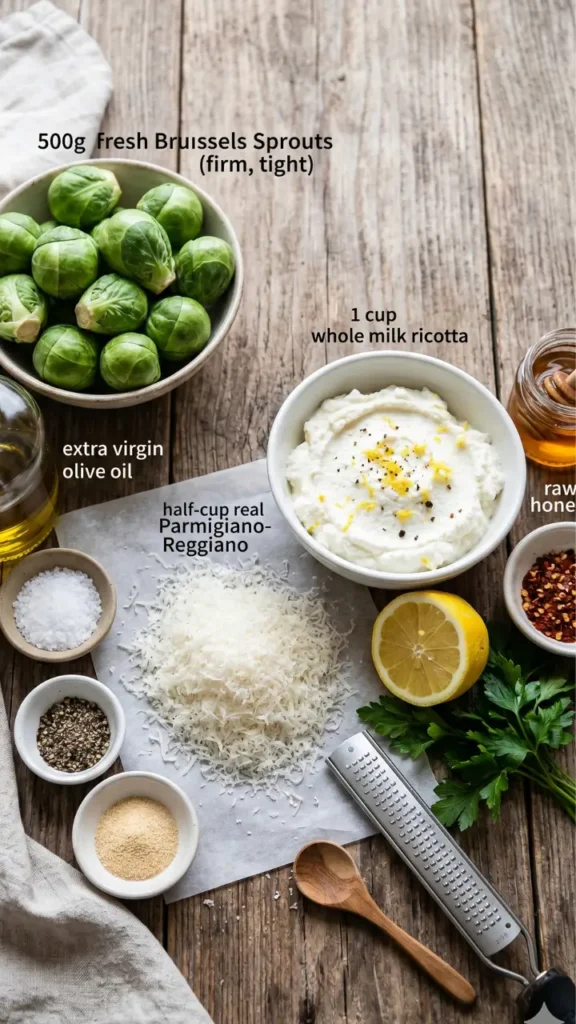
To get the absolute best results from your parm crusted brussels sprouts, you need to start with the right raw components. Let’s break down exactly what you should look for when shopping.
- Brussels Sprouts: Look for tight, bright green globes that feel firm when squeezed. I always buy medium-sized sprouts for this specific preparation. If they are too large, the centers stay a bit too dense; if they are tiny, they disintegrate when you apply pressure.
- Finely Grated Parmesan: Skip the green shaker canister entirely. You want real Parmigiano-Reggiano grated on a microplane or the finest holes of your box grater. This creates a snow-like texture that melts seamlessly into a crispy skirt rather than clumping into greasy puddles.
- Ricotta Cheese: Grab full-fat whole milk ricotta. Low-fat versions tend to be watery and grainy, which completely ruins the luscious, whipped feel of the dip.
- Olive Oil: Use a reliable extra virgin olive oil. It helps fry the edges of the sprouts while they roast and adds a fruity body to the ricotta blend.
- Garlic Powder, Salt, and Black Pepper: Standard kitchen workhorses that build our savory foundation.
How To Make Smashed Brussels Sprouts with Parmesan Step by Step
Making these crispy smashed brussels sprouts is an incredibly straightforward process, but your execution matters. Follow along closely to ensure your veggies achieve maximum crispiness.
Step 1: Prep and Preheat
Go ahead and turn your oven to 220°C (200°C fan). While the oven heats up, clean your 500 grams of Brussels sprouts by trimming off the very bottom of the woody stems and pulling away any loose, yellowed outer leaves.
Step 2: The Softening Boil
Bring a large pot of salted water to a rolling boil and drop in your cleaned sprouts. Let them cook for exactly 9 minutes until they are just fork-tender. Do not skip this step or try to roast them raw. If they are under-cooked, they will stubbornly bounce back or shatter into broken pieces when you try to flatten them.
Step 3: Steam and Dry
Drain the sprouts thoroughly in a colander. Now, here is a secret: let them sit in the hot colander for about 3 minutes to allow the residual surface moisture to evaporate. Wet sprouts steam in the oven instead of roasting, and steaming is the ultimate enemy of crispiness.
Step 4: The Big Smash
Transfer the dry sprouts onto a large baking tray lined with parchment paper. Take a sturdy drinking glass with a completely flat bottom, grease the underside with a drop of olive oil, and gently press straight down on each sprout. You want to flatten them out until they are roughly half an inch thick. Don’t worry if a few loose leaves scatter outward; those loose bits actually become the crispiest, chip-like snacks on the tray.
Step 5: Season and Cheese
Drizzle 2 tablespoons of extra virgin olive oil over your flattened greens. Generously dust them with salt, cracked black pepper, and your half teaspoon of garlic powder. Finally, rain your half cup of finely grated parmesan directly over each sprout, ensuring plenty of cheese spills over onto the parchment paper to form that iconic skirt.
Step 6: The Crispy Roast
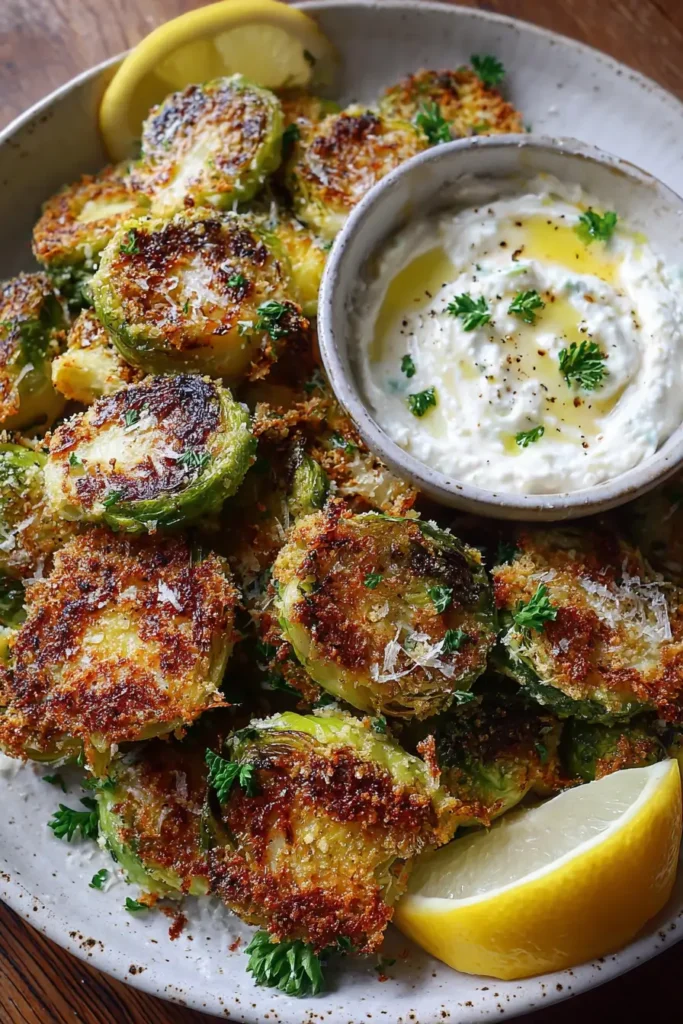
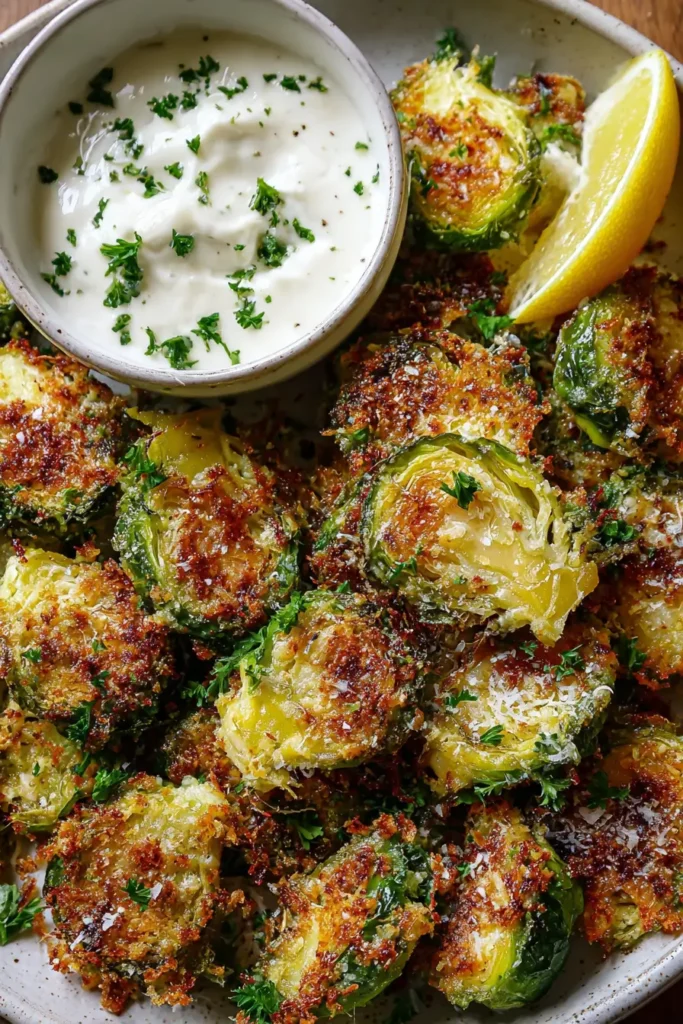
Slide the tray into your preheated oven and roast for 20 to 25 minutes. Keep a close eye on them around the 20-minute mark. You are waiting for the cheese to turn a deep, mahogany gold and the edges of the sprouts to look dark and deeply caramelized.
Step 7: Whip the Lemon Ricotta Dip
While the oven does the heavy lifting, stir your 1 cup of whole milk ricotta with 1 to 2 tablespoons of fresh lemon juice, 1 tablespoon of olive oil, a pinch of salt, a crack of black pepper, and a generous grating of fresh lemon zest. Whisk vigorously with a fork or mini whisk until it looks smooth and premium. Spread this dip across the bottom of a serving platter and pile the hot, sizzling sprouts directly on top.
Pro Tips
Over my fifteen years in commercial and home kitchens, I have made every mistake imaginable with brassicas. Here are the hard-won secrets to mastering this roasted brussels sprouts recipe:
- Give Them Breathing Room: Do not crowd your baking sheet. Space out the smashed sprouts so there is at least an inch of air around each one. If they are packed tightly together, the moisture they release will trap steam, leaving you with soggy bottoms.
- Cool the Bottom of the Glass: If you notice the sprouts sticking to your smashing glass and tearing apart, wipe the glass clean and rub a tiny film of oil or cooking spray onto the bottom every few smashes. It makes a world of difference.
- Embrace the Dark Edges: Don’t pull the tray out too early out of fear. Those dark brown, almost blackened leafy edges aren’t burnt — they are packed with concentrated, nutty sugars and taste like vegetable candy.
Variations
- The Spicy Hot Honey Swap: If you like some heat, dust the sprouts with dried chili flakes right before they hit the oven, then drizzle them with raw honey the second they come out. The sweet heat contrasts beautiful with the salty parmesan.
- The Bacon Lover’s Party Version: Scatter finely diced, raw bacon across the sheet pan along with the smashed sprouts. The bacon fat renders out, frying the sprouts to an unbelievable level of crispiness while providing smoky lardons.
- The Vegan-Friendly Alternative: Swap out the dairy parmesan for a mix of nutritional yeast, garlic powder, and a vegan hard cheese alternative. For the dip, utilize a whipped silken tofu or a cashew-based cream base brightened with lemon.
FAQ
Why are my smashed brussels sprouts soggy?
Your sprouts are likely soggy because they carried too much water into the oven. Make sure you let them air dry in the colander after boiling. Another common culprit is crowding the baking sheet, which traps steam instead of letting dry heat circulate.
Can I use frozen Brussels sprouts for this recipe?
I strongly advise against using frozen sprouts here. Frozen vegetables have altered cellular structures that hold onto excess water, meaning they will turn into mush when smashed and will never achieve that crisp, lacey parmesan edge we want.
Do I have to boil them before smashing?
Yes, par-boiling is non-negotiable. Raw sprouts are far too dense and rubbery to smash. Boiling them for 8 to 10 minutes softens the interior cores just enough so they spread open cleanly under the glass without shattering.
How do I store and reheat leftovers?
Keep your leftovers in an airtight container in the fridge for up to 3 days. To crisp them back up, avoid the microwave at all costs. Instead, pop them back onto a baking sheet at 200°C for roughly 8 minutes until the cheese sizzles again.
Every time I serve these crispy bites, they disappear faster than the main course. Go ahead and whip up a batch this weekend, and drop a comment below telling me exactly how loud your first bite crunched!