Homemade Milk Kefir – Probiotic, Easy & Economical
Who here loves practicality and a healthier lifestyle? Raise your hand! Today I am going to teach you one of those recipes that are so simple and miraculous that you will wonder why you never made it before: the famous milk kefir. It is probiotic, natural, economical, and the best part—you can make it at home with practically zero effort.
I remember exactly the first time I heard about kefir. I thought it was from another planet. A “little creature” that transforms milk into natural yoghurt, full of gut benefits and with a mild flavour? Of course I had to try it. And would you believe it? The little thing became part of my routine. Today, I cannot go without it.
If you are someone who is always on the go, with little time to take care of your diet, kefir can become your best friend. It is practically self-sufficient: you feed it, it grows, it ferments, and that is it. In 24 hours, you have fresh yoghurt made by you. Let us make it together.
Ingredients for Milk Kefir
- 1 tablespoon milk kefir grains (you can get these from donors or in online groups)
- 500 ml whole milk (pasteurised or type A, but never UHT/long-life)
- 1 clean glass jar with a lid (but not airtight)
- 1 plastic strainer (never metal)
- 1 plastic or silicone spoon
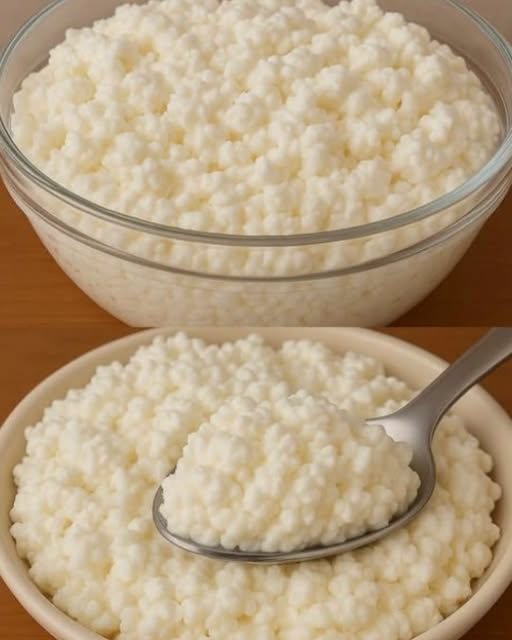
You will need very few items: the kefir grains, which are like colonies of friendly micro-organisms, and milk. That is it, just milk. And the best part: once you acquire the grains, they grow and multiply, so you will never need to buy them again. A true gift from nature.
The fermentation process takes 12 to 24 hours, depending on room temperature. On warmer days, it ferments more quickly. Then you can consume it as yoghurt, use it in smoothies, substitute it for cream in recipes, or even make homemade cheeses. It is very versatile and will surprise you.
Step-by-Step Instructions
- Place the kefir grains in the clean glass jar.
- Add the milk until the grains are covered (500 ml is a good amount to start with).
- Cover the jar with the lid, but do not seal it airtight. You can also use a cloth secured with an elastic band.
- Leave the jar at room temperature, away from direct light, for 24 hours.
- After this time, strain the liquid using the plastic strainer. The grains will remain in the strainer, and the strained liquid is your ready-made kefir.
- Return the grains to the jar, add fresh milk, and repeat the process daily.
Simple as that. And you know what is even more incredible? You can enjoy the kefir plain, sweeten it with honey, blend it with fruit, or even use it in sauces and desserts. At my house, we love blending it with banana and oats for breakfast.
Now, let me tell you something funny: at first, I thought the grains were going to attack me in the middle of the night—it felt like a science fiction film. Today, they are practically part of the family. I have even given them names. The important thing is to take good care of them, always feed them with fresh milk, and keep everything clean.
Healthier Version of Milk Kefir
Since kefir is already healthy, you can make it even more functional. Here is how:
- Use plant-based milk (such as coconut, almond, or cashew milk). Note: kefir grains can adapt, but it is a good idea to alternate with cow’s milk sometimes to avoid weakening them.
- Blend the kefir with berries, flaxseed, and molasses instead of sugar.
- Freeze individual portions in ice cube trays for quick smoothies.
This version is great for those who are lactose intolerant, vegan, or just want to vary their diet.
How to Make Money with This Recipe
Yes, you can turn kefir into extra income. Many people cannot easily find the grains or prefer to buy ready-made yoghurt. So you can:
Sell Kefir Grains
- Donate some to encourage consumption
- Sell portions in sterilised plastic pots
- Advertise in Facebook and WhatsApp groups focused on natural health
Produce Yoghurts and Derivatives
- Sell pots of ready-made kefir (plain, with fruit, blended, etc.)
- Make kefir cheese (cream-cheese texture)
- Create kits with pots, instructions, and an initial portion of grains
Tips for Starting Your Business
- Create a simple visual identity with a name and label
- Use practical, reusable packaging
- Offer tastings and showcase the benefits of kefir on social media
With dedication, you can set up a small home-based business with a very low initial cost.
Conclusion
Making milk kefir is easy, quick, and full of benefits. Besides being a health-friendly recipe, it is economical and yields a lot. It is a true homemade alchemy that will become part of your routine.
So get your glass jar ready, give your grains a name, and let us bring this probiotic miracle into your kitchen. Let me know how it turns out.
Suggested Accompaniment
Serve the kefir with crunchy homemade granola and chopped fresh fruit. It is perfect as a nutritious breakfast or a light summer dessert.
Ideal Occasions to Serve
- Natural breakfast
- Healthy afternoon snack
- Post-workout nutritious treat
- Children’s snacks with mashed fruit